

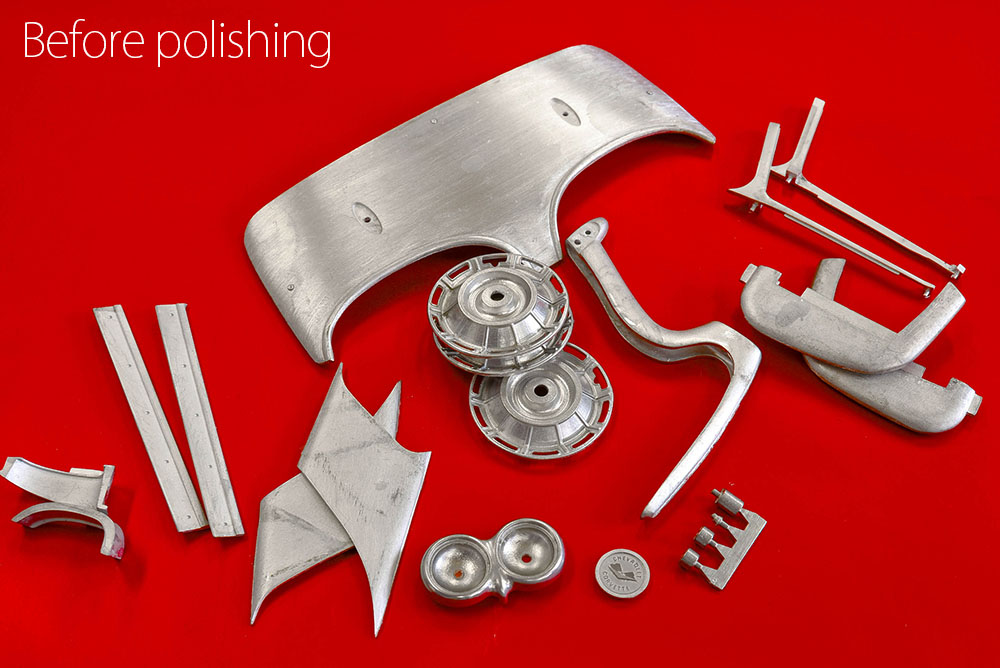
Technique for Polishing White Metal Parts
 弊社のキットに多数使われているホワイトメタル。メッキ処理されたパーツが同梱されている場合もありますが、その多くは磨くことによって仕上げることを前提にしています。パーティングラインや表面の荒れを整形し、磨く工程を経ることによってメッキ以上の美しい金属特有の輝きを得ることができます。
このメイキングでは、そのメタルポリッシュの工程とそのコツを皆様にお伝えします。
Our kits are made up of mostly white metal parts, and while some kits come with parts that are pre-polished or pre-plated, in many situations you will be required to polish the parts yourself.
Spending the time getting rid of parting lines, smoothing out the surface and properly polishing the parts can result in a finish that may be better than what plating methods can offer.
We will outline our process and hope it will serve as good reference as to the workflow and tools required.
 1) 必要な工具・材料
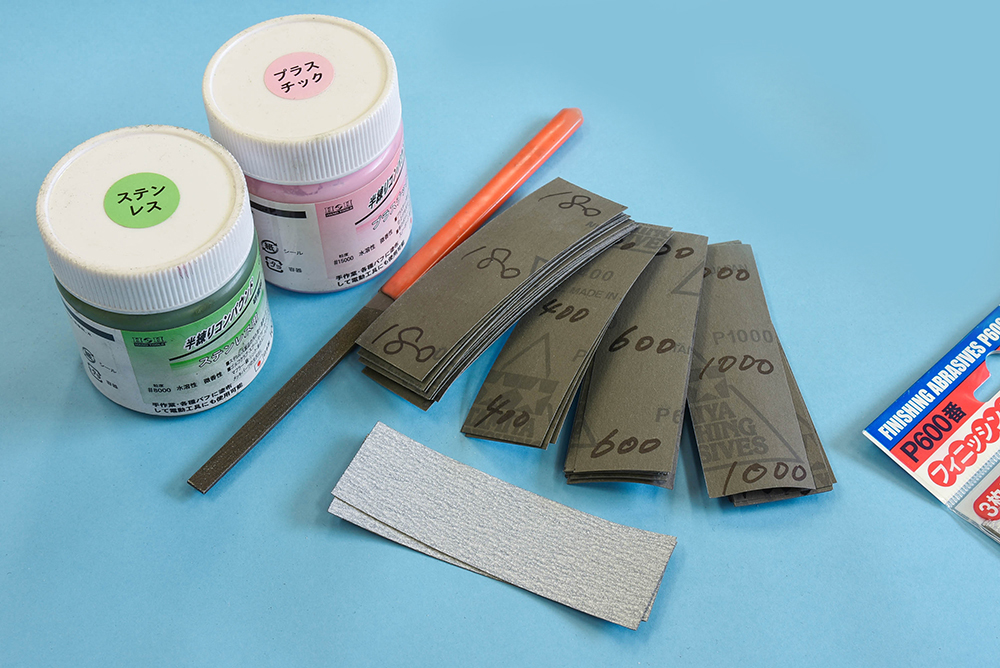
棒ヤスリはパーティングラインや荒れを整形するのに使います。そしてメインの磨きに使用するサンドペーパー、荒いほうから180番、400番、(場合によっては600番)、1000番です。使いやすい大きさに切って使用します。
最後の磨きに使用するコンパウンドは、粒度#8000のものと、#15000の2種を使用しています。
1) Required Tools and Items
In general files will be used to remove parting lines and help with reshaping of parts (if needed), followed by the use of sandpaper to slowly smooth out the surface. Start with a roughness of around #180 and work slowly your way to finer sandpapers (#400, #600, #1000 etc). Cut sandpaper into a size that can be easily handled.
Polishing compound will be used for the final step - we use two types that have grits of #8000 and #15000 respectively.
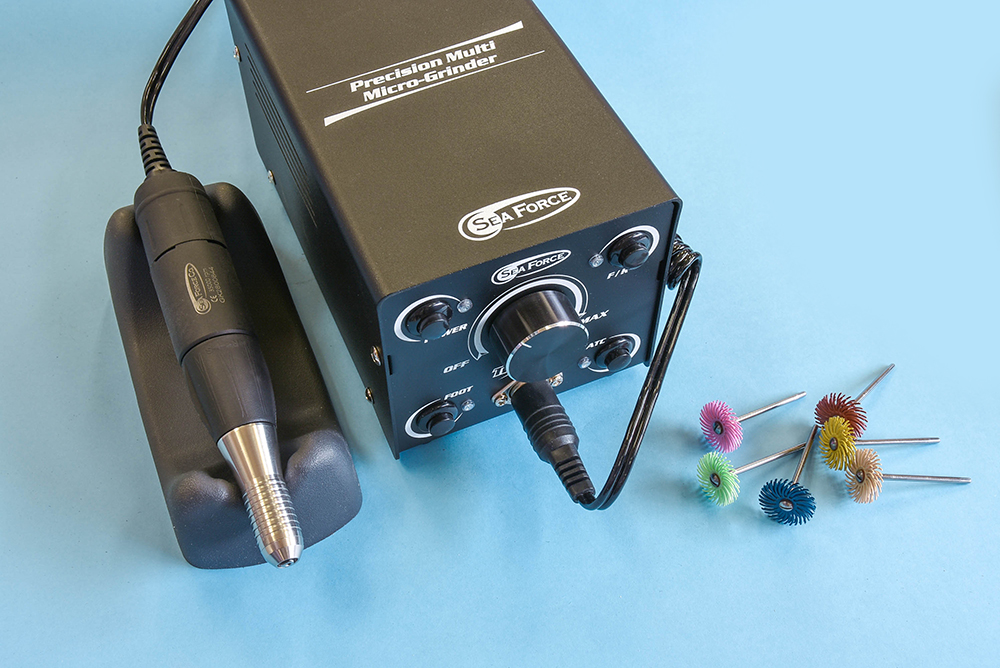 入り組んだ形や凹凸がある形のパーツには、電動リューターが便利です。速度調整機能はあると他の工作作業にも使えて便利ですが、なくても使えます。ですが、長時間使う場合もあるので乾電池式よりはAC電源式の方が良いです。
ホワイトメタル磨き用リューター ビットには、3M社製のラジアル・ブリッスル ブラシ、#80番から#3000番まで6種を使っています。
For parts with complex surfaces or hard to reach crevices we recommend using an electrical rotary grinder. A corded type is convenient as rotation speed can be adjusted and can be used for long periods of time. For white metal we use 6 different radial bristle brushes (sold by 3M) numbering from #80 to #3000.
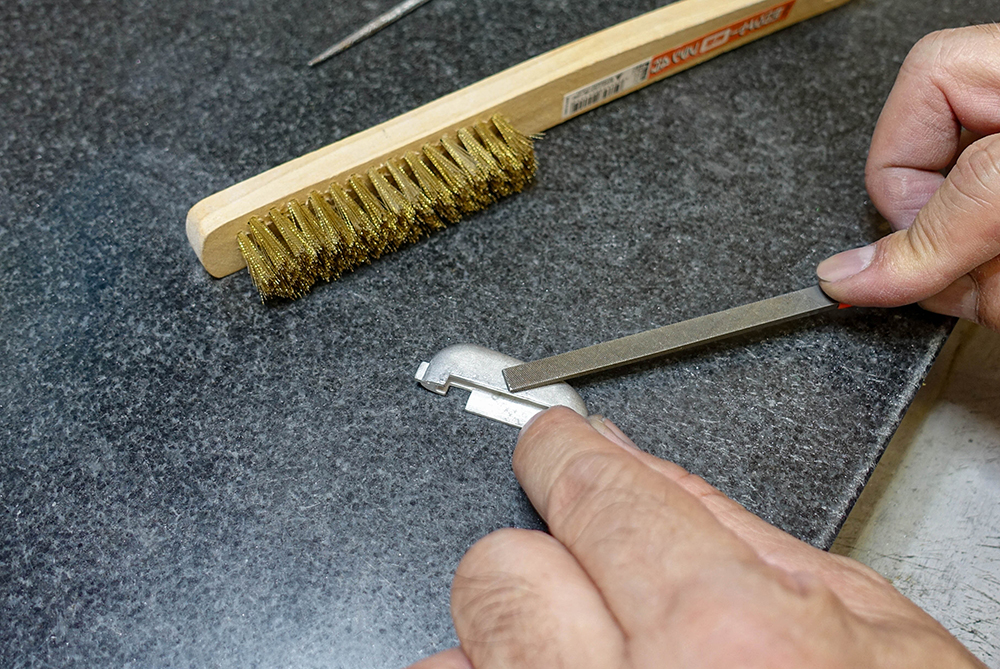 2) まず最初にパーティングラインや表面の荒れを棒ヤスリで整形していきます。場合によっては金物ブラシも併用します。
2) Use files or a metal brush to clear away parting lines or any other deformities from the part.
 モールドや角の部分を削り過ぎないよう、注意しながら表面を整えます。
平らな部分は、平面が出ているか、凹凸が残っていないかチェックしながら整形します。
Be careful not to remove any molded details or dull off sharp corner of parts. For flat areas make sure there are no uneven deformities.
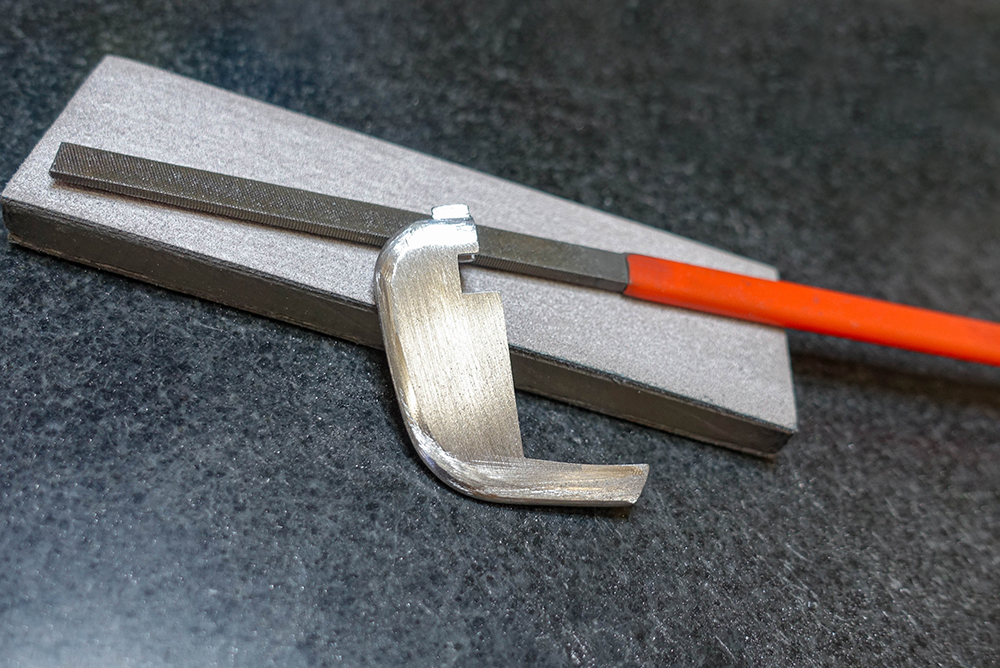
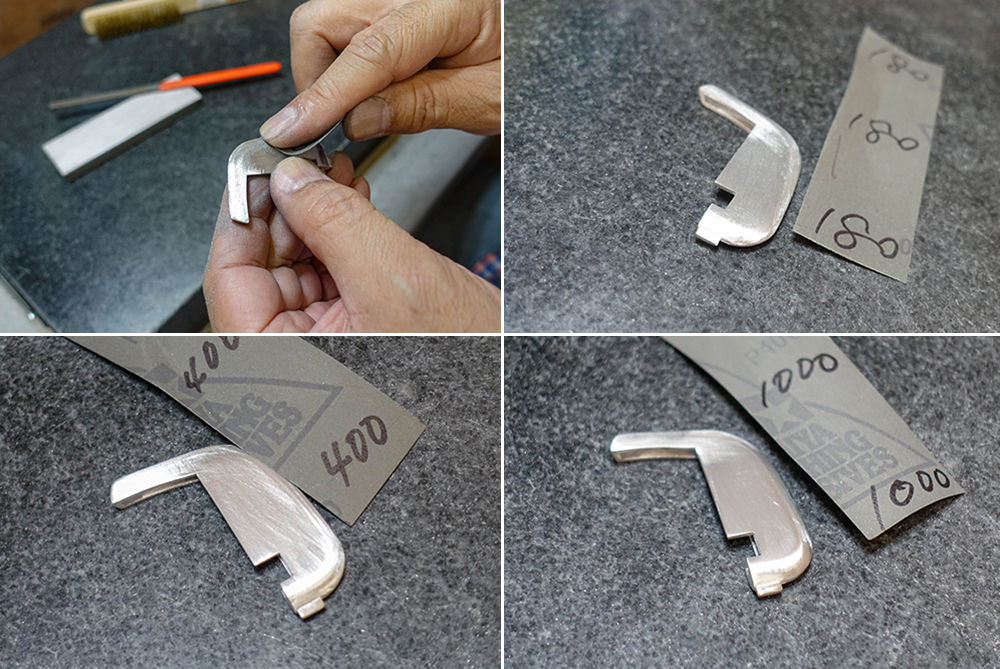 3) 表面を整えたパーツを、サンドペーパーで磨いていきます。180番から始め、表面の磨きあとが均一になってきたら次に400番、さらに1000番と細かい番手で仕上げていきます。
コツとしては、ペーパーを当てる方向を変えずに同じ方向で磨き続けることです。縦横自由に磨くと傷跡が上手く消えていきません。
3) After the surface has been prepared, start the polishing process by using sandpaper. Start with a roughness of 180 and work your way up once you have achieved the same overall smoothness, moving up to 400 and finishing with 1000. Try to stroke in only one direction as constantly changing directions will cause scratches to form on the part instead.
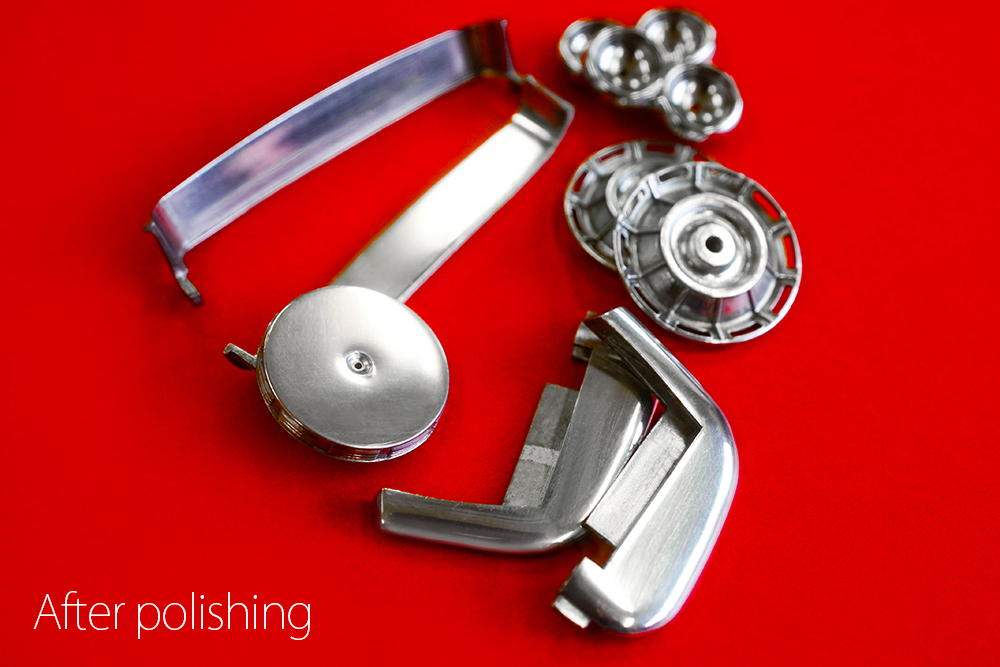
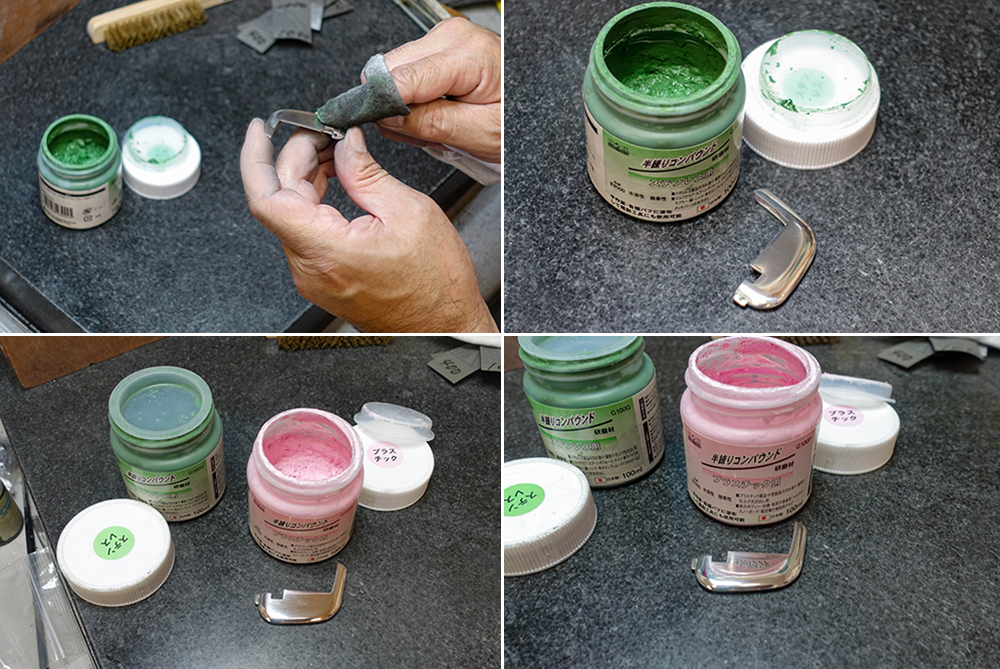 次にコンパウンドで磨きます。最初に荒目の#8000から柔らかい布に取ってパーツを磨きます。こちらも表面が均一になったら細目の#15000で磨いていきます。均一な美しい輝きが出てきたら完了です。
ここで磨きの作業は一旦終了です。
Continue the process with compound - apply #8000 girt compound to a soft cloth and polish until an even shine has been achieved on the part. Finish by polishingfurther using the finer #15000 compound.
This ends the polishing process.
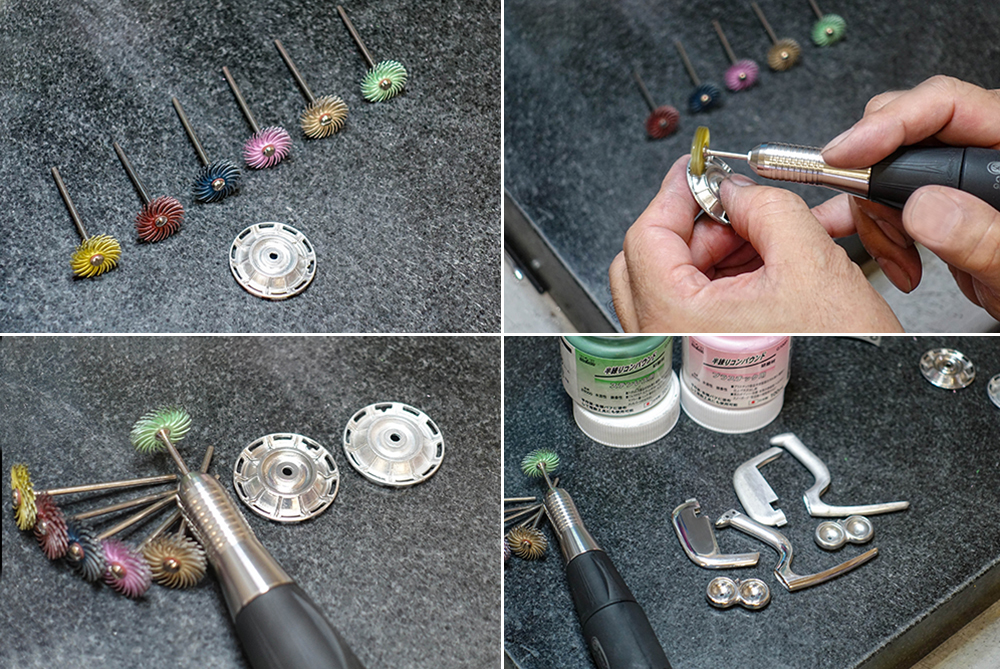 先ほどの説明は、比較的磨きやすい形状のパーツでしたが、今度は複雑に入り組んだ形状のパーツの場合です。そういったパーツの場合、電動リューターを使用します。
ビットブラシは、荒い番手から細かい番手へと、サンドペーパーと同じように番手を上げながら磨いていきます。電動ですので、細かいモールドや角の部分を磨きすぎないよう注意が必要です。
リューター磨きの後、同じようにコンパウンド+布で磨きます。
For parts with more complex shapes and surfaces, use a rotary hand grinder instead. Start with a rough bit brush and work up to a smoother bit brush in the same fashion as when using sandpaper. Dur to the speed of the hand grinder be wary not to damage any mold details or dull off sharp edges of the part.
Finish the polish process using compound and a soft cloth as noted in the previous steps.
 4) 洗浄
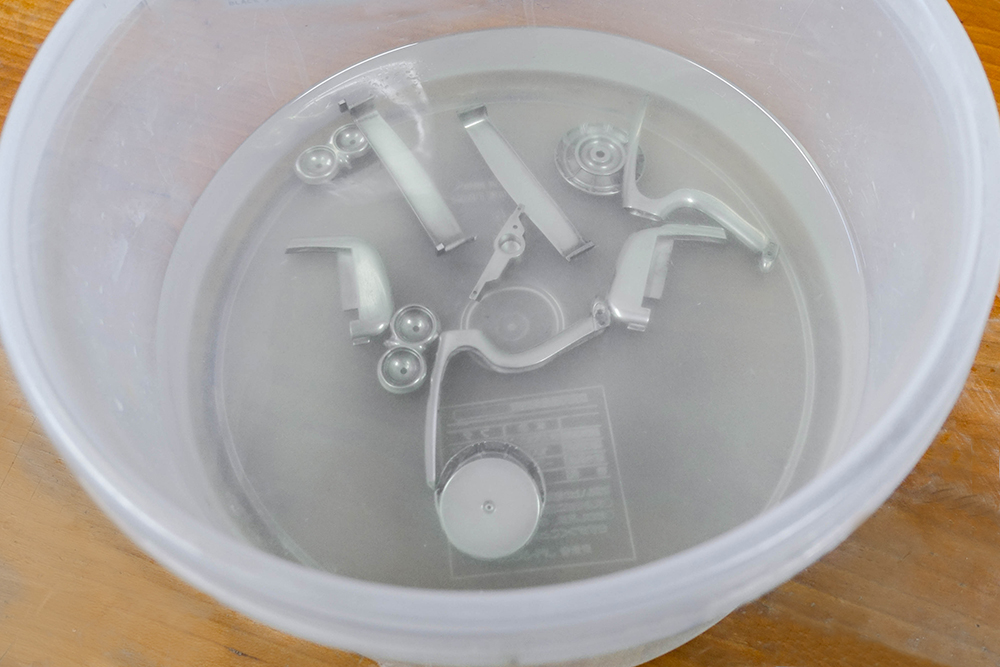
4) 洗浄磨き終えたパーツは、コンパウンドに含まれていた油分を取り除くために塗料用うすめ液に浸け、軽く洗浄します。
乾燥後、手の油分がつかないよう注意しながらきれいな布等で表面を軽く磨くと良いでしょう。
4) Wash
After polishing with compound has been completed, wash the parts in thinner to clear away the excess oil left behind by the compound. After parts have dried, give the parts a final polish using a clean cloth.
Avoid leaving behind fingerprints or skin oil when handling the parts.
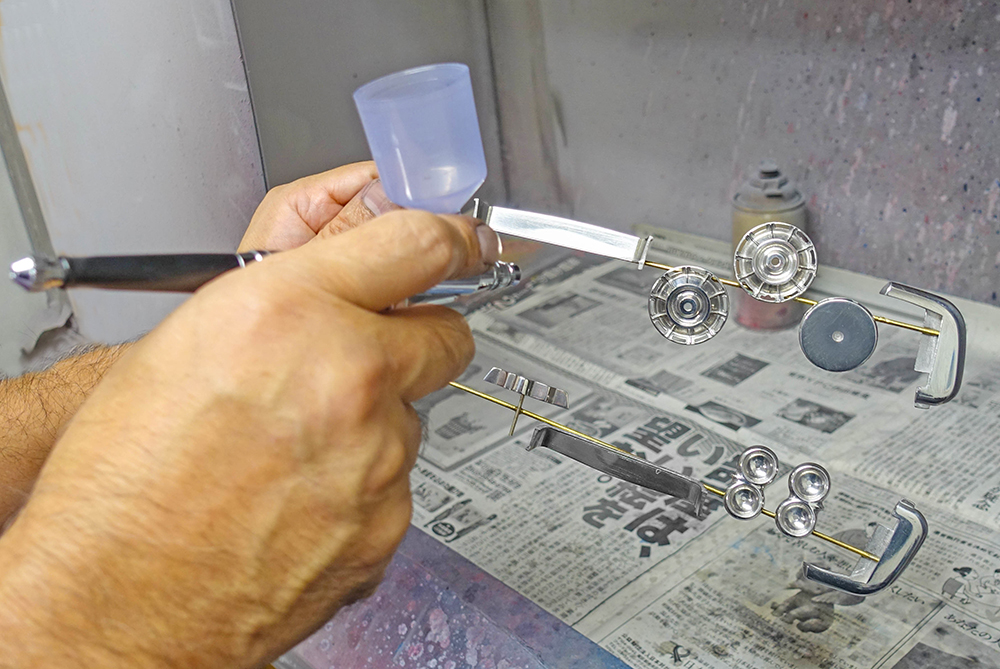 5) クリアコート
せっかく研磨したメタルパーツですが、日数をおくと少しづつ表面が曇ってきて輝きが失われていきます。これを防ぐ為に、パーツにクリアコートを行います。
表面の輝きを保つため、下地プライマー等は吹きません。直接ウレタンクリアー、もしくはラッカー系クリアーを吹き付けます。
塗装硬化後に、強い衝撃や鋭利なものに当たるとクリアー層がはがれることがあります。組立ての際には注意して取り扱ってください。
5) Clear coat
As parts will become clouded if left alone for a few days, clear coat the parts after the polishing process to keep the finish intact. To keep the surface finish as it primer will not be needed - apply urethane clear or lacquer clear directly onto the part.
Be careful with the part during construction as the layer of clear can be easily damaged when bumped into other objects.
 6) 完了!
いかがでしたか?意外と難しくなかったのではないでしょうか。
このMAKINGが、弊社キットを組み立てる際の一助になれば幸いです。
6) Finish!
And that concludes the polishing process.
We hope this simple making guide will be useful in helping you achieve the ideal finish for your parts.
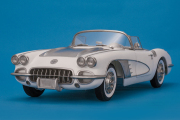
K829
1/12scale Fulldetail Kit :
C1 [1960]
MAKING
|
